While I would class myself as having excellent networking knowledge (DNS, DHCP, Routing, VPN, etc), running a pretty comprehensive infrastructure on my home network.
One thing I never bothered learning about is VLAN’s. So why not learn and do, on the job experience if you please!
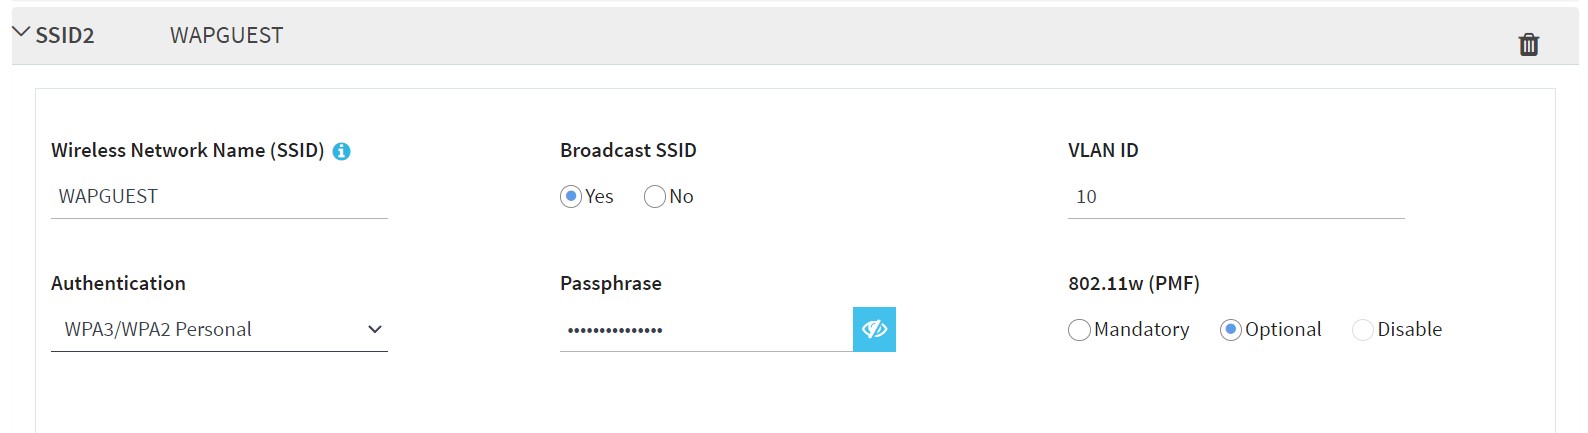
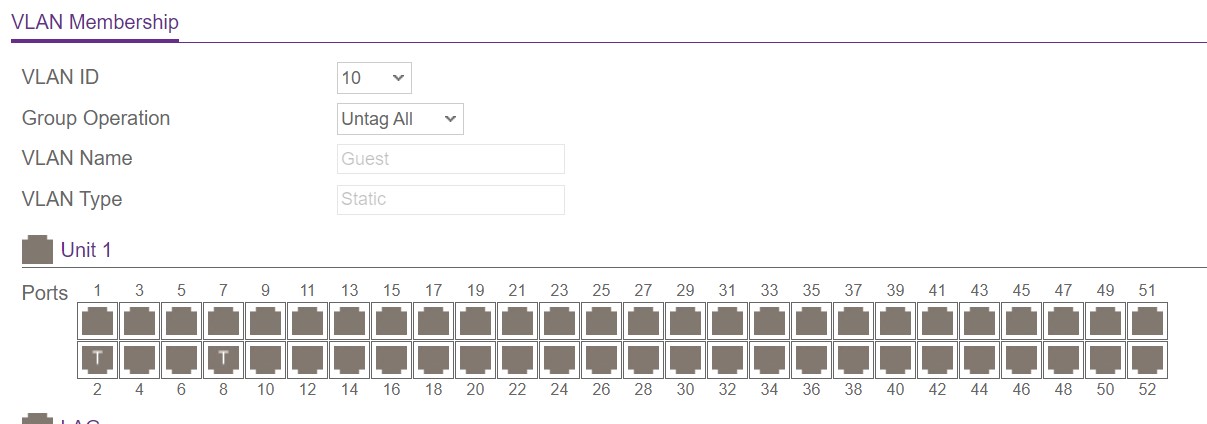
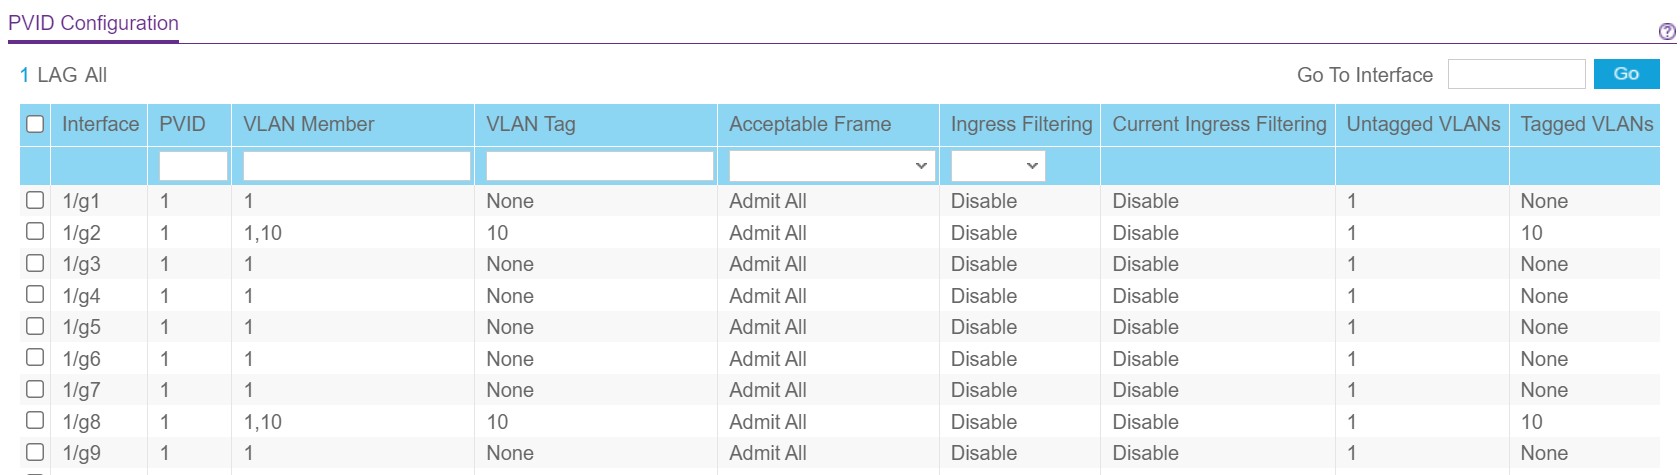
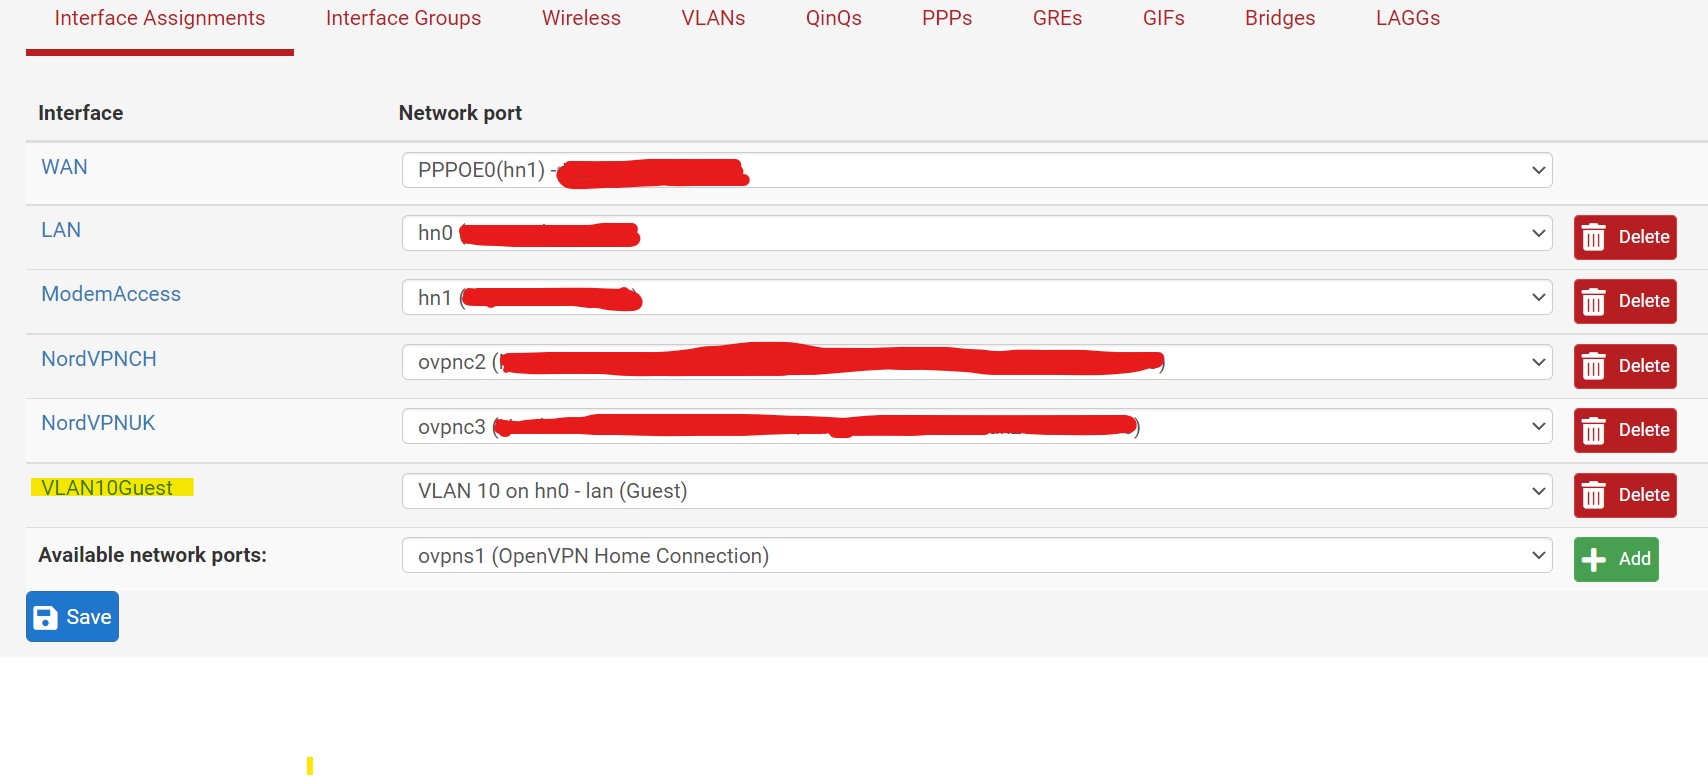
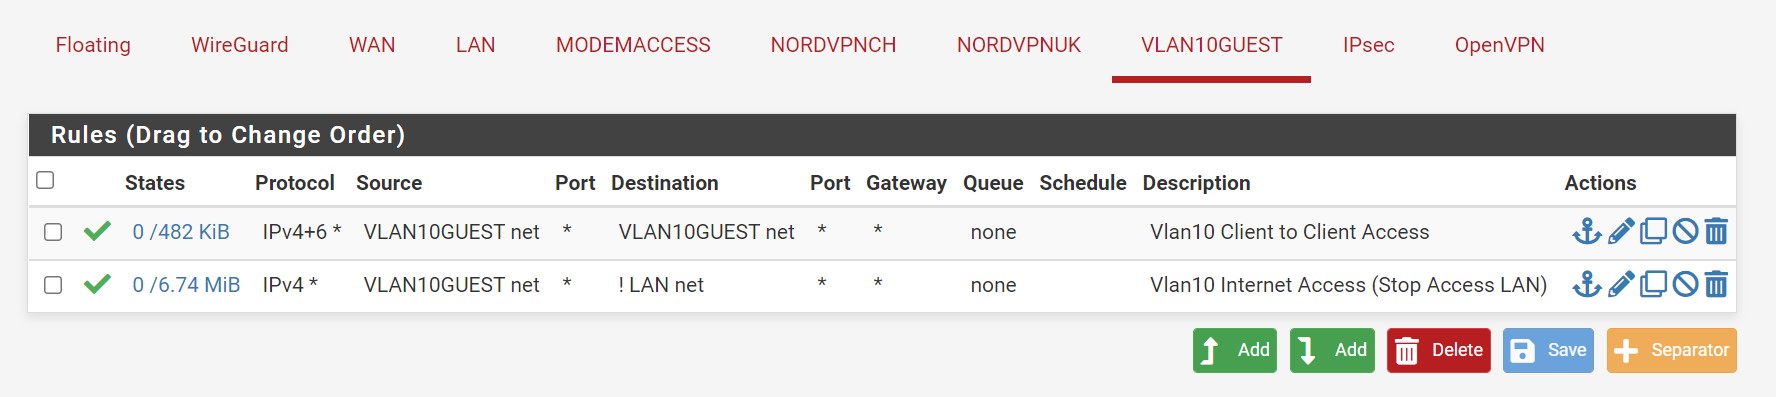
Our task today is simply to create a guest wifi network, that allows guests to connect to the internet but isolated from the local network, and for this we will use a VLAN tied to a particular SSID.
I am a big believer in virtualisation, specifically local and not cloud (don’t like using other peoples computers!!). My virtualisation platform of choice is Hyper-V from Microsoft, currently on Server 2012r2. My network firewall is pFsense virtual machine running on the Hyper-V host.
This article is not very in-depth, other people have done a much better job of explaining the process in detail better than I can.
So quick run through the steps…..
That’s it! It should all work. Right!? Nah.
Before doing this my research around Hyper-V and VLAN’s, all the information I could find stated that unless the virtual NIC are assigned VLAN ID’s, they should be operating in Trunked / Tagged mode by default. It turns out this not actually true.
Opening a Powershell prompt on the Hyper-V host and entering this command.
Get-VMNetworkAdapterVlan -VMName "VM Name"

As we can see the virtual NIC’s attached to that virtual machine running pFsense are operating in untagged mode which means all traffic going in and out is untagged. That will not do for us.
We need to switch the virtual NIC to allow our tagged VLAN 10 traffic as well as our untagged traffic.
Set-VMNetworkAdaptervlan -VMName "VM Name" -VMNetworkAdapterName "Network Adapter"-Trunk -AllowedVlanIdList "10" -NativeVlanId 0

One problem as you may notice is that because both NIC’s attached to the pFsense machine are named the same, the command has switched both NIC’s to Trunk mode – in my case this will not have any effect as the second NIC on this machine goes directly to the DSL Modem, which only accepts untagged traffic.
Ideally to do this properly, you should use Powershell commands to delete the network adapters from the virtual machine and recreate them with unique names.
Regardless, that resolved the problem and we have a working guest wifi and learnt a little about VLAN’s!!!
A better way to select the appropriate NIC is by its MAC address instead of its name (as you pointed out, Hyper-V gives all the nics the same name). This Powershell shows that approach:
“`
Get-VMNetworkAdapter -VMName “pfsense” | Where-Object -property macaddress -eq “00155dxxxxxx” | Set-VMNetworkAdapterVlan -Trunk -AllowedVlanIdList “10” -NativeVlanId 0
Get-VMNetworkAdapterVlan
“`
Note that the mac address should be passed without the colons.