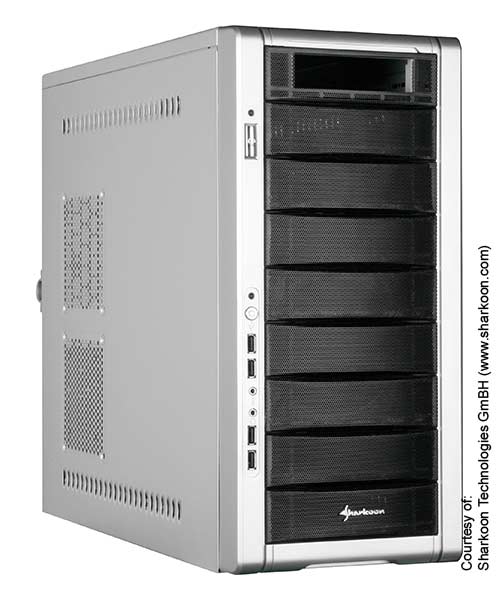
 The Sharkoon Economy 9 case is at the extreme budget end in terms of PC cases – for me the biggest factor compared to more expensive cases, is the material used in the fabrication. The metal is thin and you just know it will make the PC very noisy – in effect the case will amplify the fan and drive noise (remember this case is going to house 8 drives!!).
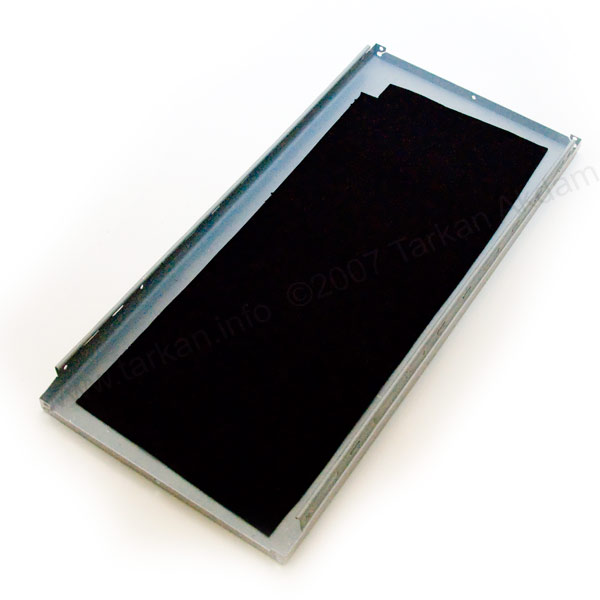
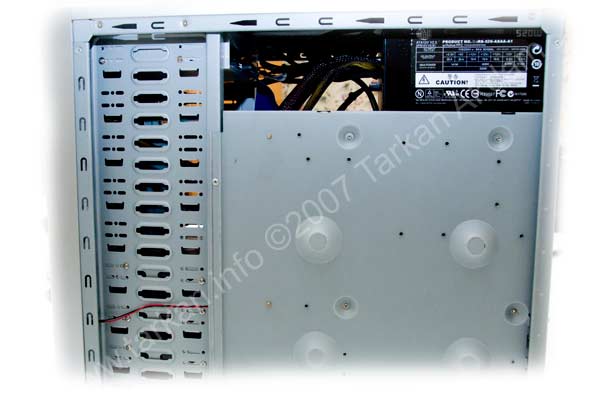
 A mod I do, even to the more expensive cases – is to clad all the large panels with rubber. This does two things for the case. Firstly, it reduces the noise coming from the computer – it does this by absorbing sound and damping any vibrations that are transferred to the case from the hard drives. Secondly, I use the rubber to cover up ventilation holes.
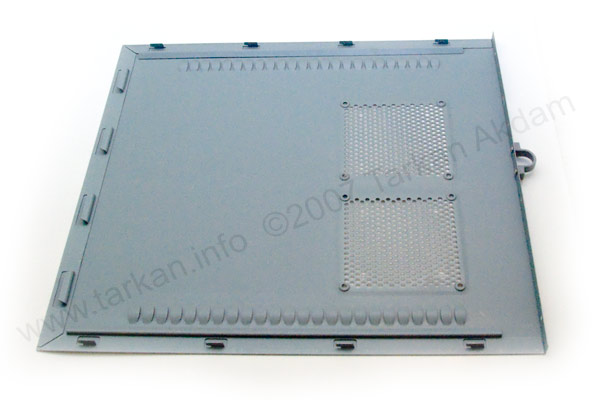
 Most cases tend to have ventilation holes on the front, bottom, back and side panels. This just does not work for me. I like my thermal management to consist of a defined airflow. My aim is to get air sucked in from the front of the case and exhausted out of the rear. To achieve this all the ventilation holes around the case – except the front and back have to be covered up. This kind thermal design will only work if you have enough airflow to move the heat generated through the case and out the back.
 In this situation, the two Icy Docks will be pulling the air in to the case, and the Enermax 120mm PSU fan will be blowing it out. The flow rate will be more than adequate to cool the drives and CPU, remember this file server will spend most of its time moving around files not playing the latest directX 10 games.
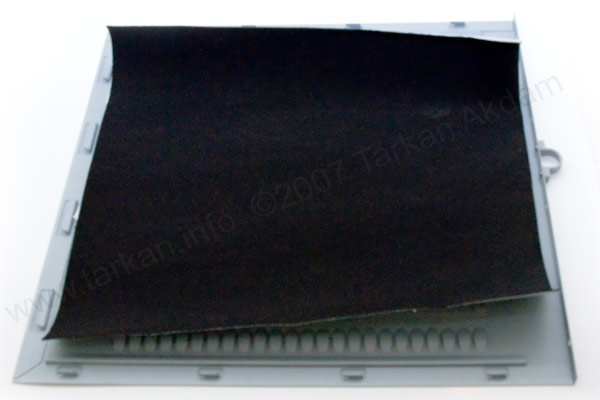
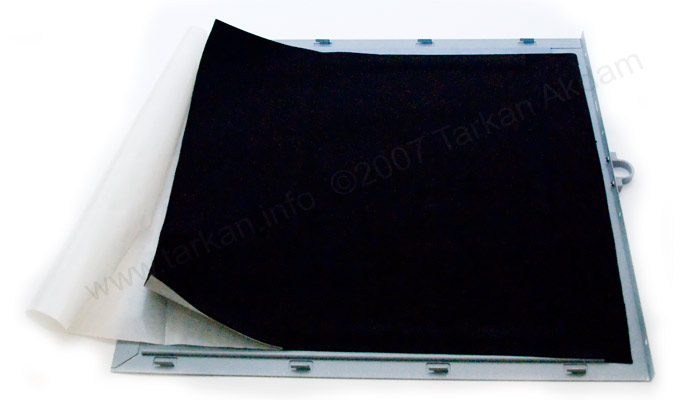
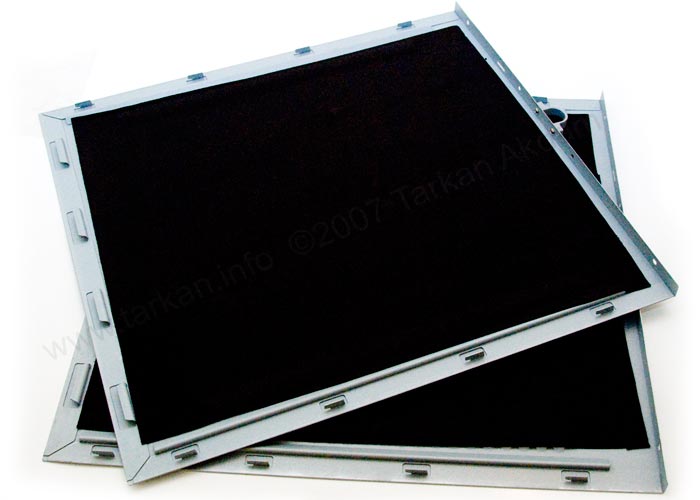 So with screwdriver in hand start taking the case apart. Once all the panels are removed start affixing the rubber sheeting. I used 1.5mm thick Neoprene adhesive backed sheets, if you have the budget I would suggest using 3mm thick or if you don’t have the budget, any type of rubber will do fine – adhesive backed makes it so much easier to apply.
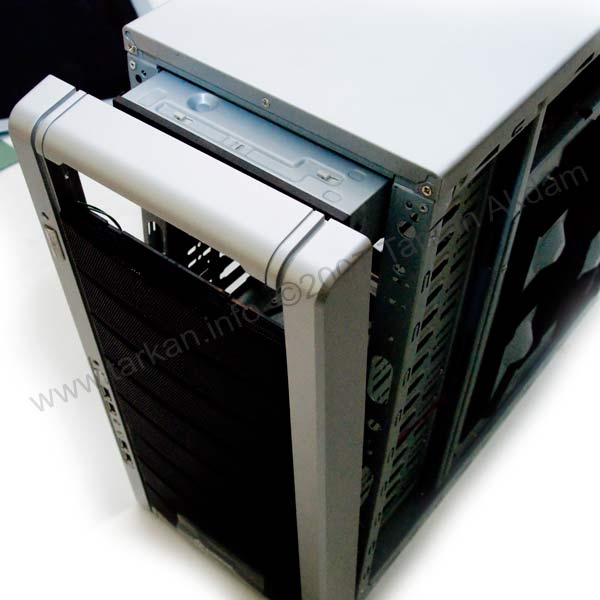 I also removed the top panel which required pulling the front panel away from the case, then removing more screws before pulling it up – you need to be careful if the metal has not been de-burred or rolled, the edges can be dangerous consider wearing some gloves.
The motherboard tray looked like it needed some reinforcement, so I applied some neoprene to most of it.
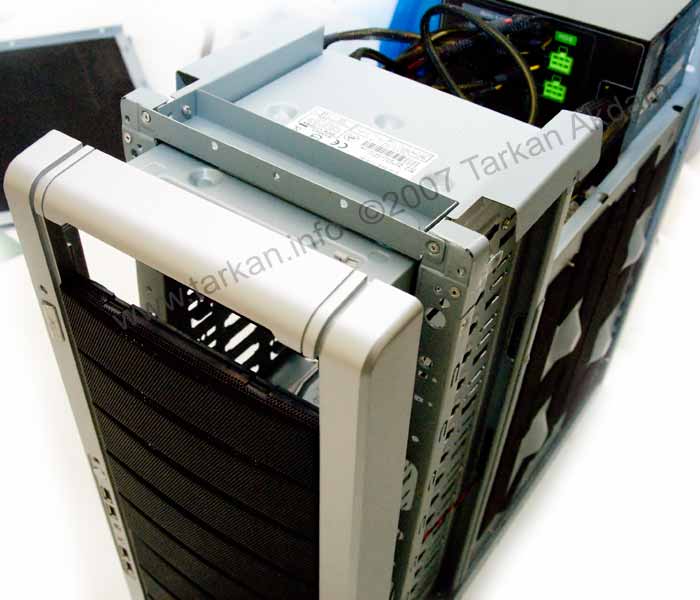
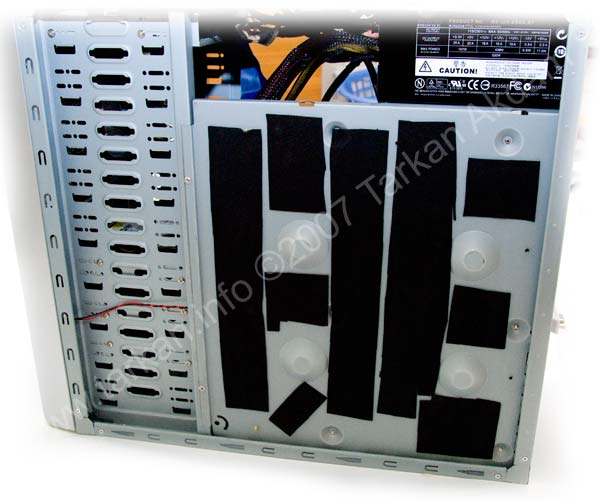
So anywhere which looks like it can vibrate or make noise – stick some rubber sheeting to it!!!
Case is now ready to accept the remaining hardware…..
Pingback: bruher.com
Pingback: pligg.com
Hope all is well your end (with baby etc). Do you have any thoughts on when part 3 will be up as I’ve been considering making a home file server but am stuck on what software to use; I’ve no clue when it come to Linux distros and your site has been the only one that mentions the possibility of using a Windows based software. So I’m stuck; lol.
I am still intending to do part 3 – sadly having a baby and refurbishing a house has got in the way!!!
I am also using WS2008 in my file server and it will be included in the next part.
Thanks for reading.
hi, is part 3 still in the works when will it be up?
i plan to use windows server 2008 so plz include it in your next part, thanks.
Hi Mufley,
The third and final part will be up soon, I am still experimenting with the software.
I have been hoping the Windows Home Server would have a fix for the corruption issues and looks like they have entered Beta testing on this issue.
I have been running Windows Server 2008 on my server and it has been working great!!
Hi there…
You mention that the third part will focus on the software side.
Have manage or published the third part?
Excellent stuff these 2 parts … looking forward for you third part…
Mufley
It was actually the drive pooling feature which first attracted me to WHS – I tend to upgrade stuff in my workstations quite frequently, and I really liked the idea of being able to just chuck redundant HDDs into the server as and when they became available, and add them all to a single seamless storage “space”… ironically though, as you say, it seems this is the very feature which is currently causing the data corruption issues so many people are experiencing.
I guess an alternative (and no doubt far better) way to do things would be to install FreeBSD 7 or OpenSolaris and use Sun’s phenomenal ZFS (the “last word in file systems”), but it will mean getting to grips with yet another OS…
I beta tested Windows Home Server, while it is has great features – I think Microsoft really failed by adding a secondary file system on top of the O/S filesystem – hence the issues with data corruption, etc….
Thanks for freenas tip, will look in to it.
Vinyl floor tiles are not very maleable – I would really suggest my tip above – the Lead Roof Flashing, very cheap, and very sticky, easy to cut and easy to apply !!!
I’m thinking of a small server build very similar to yours – in fact, I’d already discovered the Sharkoon case and it was googling for further information which brought me to this site.
Like the poster above, I’m finding the neoprene sheeting a little pricey and difficult to source in small amounts – I wonder if self-adhesive vinyl floor tiles, in one or more layers, would do the job (I’ve got plenty of those kicking around)? I guess it’s really just a case of adding mass to the panels and lowering the resonant frequency to a harmless level.
I don’t need hot-swappability for the HDDs, so I’ll probably use Coolermaster 4-in-3 modules as a cheap alternative to the Icy Docks (available in the UK from Scan).
You mentioned a FreeBSD based OS – I guess you’ve already checked out FreeNAS (www.freenas.org)? Personally I was hoping to use Windows Home Server, as it has a perfect feature set for my needs, but until MS fixes the data corruption bug it’s broken and unusable. 🙁
Thanks for posting the details of your project, it’s fascinating stuff, looking forward to the next instalment…
Thanks for the comment. I have delayed my final part as I am testing out windows server 2008 on my server box.
I was contemplating a FreeBSD or Linux based operating system, but I may just stick with MS based as they do seem to work better with the Vista boxes dotted around the house.
If you’re looking for a robust, cheap O/S for your server – I would suggest NASLite-2 from ServerElements. It has served me very well in my 2.3TB server (in a Yeong-Yang YY-B0221 server cube, 9 x HDD’s and a CF>IDE adapter for the O/S). It is currently linux kernel 2.4.35 based and retails for $29.95.
Thank you so much, that’s much more like it!
Cheers
Dan
All you need to find is rubber sheeting it does not have to be anything fancy.
I purchase my sheeting from RS components and a 1.2m x 2m x 3mm comes to about £20. RS are not cheap so you can probably get this from specialist rubber suppliers for much cheaper.
If all fails I have used Roof (lead) Flashing in the past, which does as good a job and it is very cheap and can be picked up from most DIY shops. Last time I looked 75mm x 3m roll was about £2. one roll will probably be enough for a case.
Ah thanks – I was actually asking about the stuff you stuck to the case. Sorry for not being clear.
The only sound insulation I can find from a UK provider is the AcoustiPack material, which is not cheap.. I also saw some insulation material from frozencpu.com which looked ok..
I used the foam air filters from a vacuum cleaner, you can buy the filters for about £2.00 or so from most electrical outlets. It does not matter what manufacturer as you will have to cut it up to the correct size to fit in to the cages.
What foam did you use for this? I’m looking for an economical solution 🙂